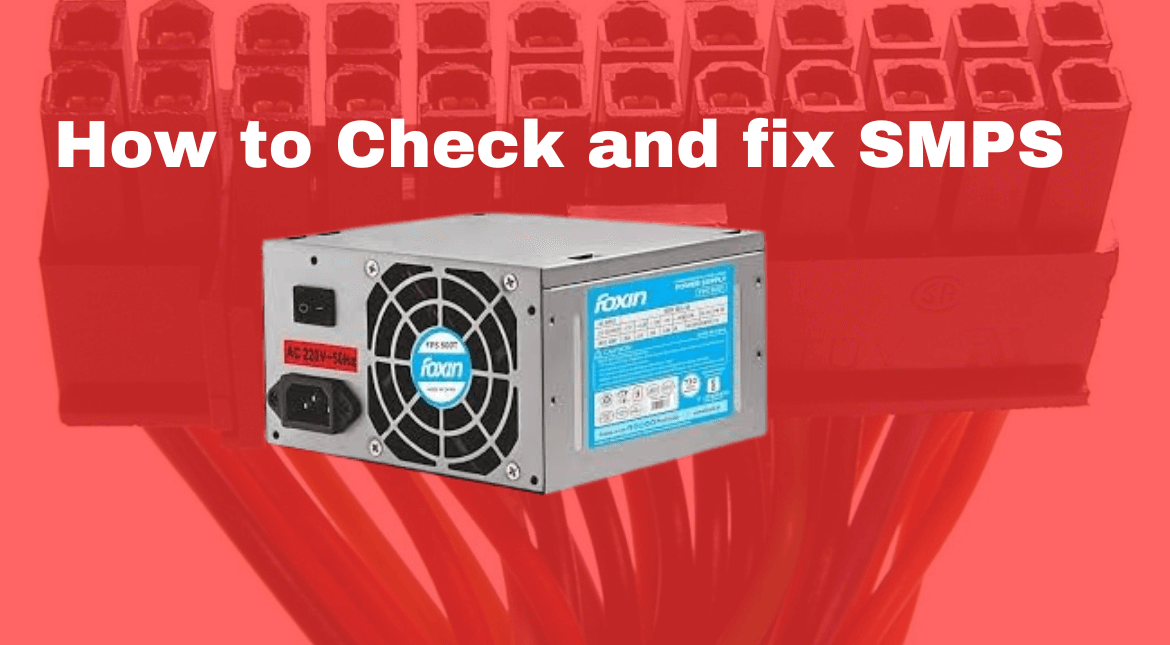
In this post, I will teach you an essential aspect of computer repairing: checking and repairing the SMPS (Switch Mode Power Supply). The SMPS is a crucial component in a computer because if your computer is not receiving power, you won’t be able to identify other issues. Therefore, before starting any computer repair, always ensure the SMPS is functioning correctly or determine if it needs to be replaced.
Note: Always prioritize your safety. When repairing a computer or laptop, always switch off the power.
How to Check SMPS?

Also Read: How to Fix the Fan Problem on a Laptop
Let’s check if the SMPS is working or not.
- Open the Cabinet: At the back of the cabinet, you will find a box which is the SMPS. There are 4 screws that you need to remove to take out the SMPS from the motherboard.
- Disconnect Wires: After removing the screws, you will find the SMPS connected to the hard disk, CD box, and the motherboard with a 24-pin and a 4-pin wire. Carefully disconnect these wires from the motherboard.
Note: Always be cautious when touching the motherboard. A small mistake can damage it, leading to a black screen. - Prepare for Testing: After disconnecting the pins, take out the SMPS and connect the power cable to it. Keep the power switch off.
- Use a Small Wire for Testing: You need a small wire or pin for the electrical supply.
- Test the SMPS:

- Find the green and black wires in the 24-pin connector.
- Connect the small wire between the green and black wires.
- Turn on the switch. If the fan in the SMPS starts, your SMPS is okay. If the fan does not work, don’t panic. Continue reading the post.
How to Repair SMPS?

To repair the SMPS, you need some tools:
- Multimeter: Essential for measuring voltage, current, and resistance. It helps diagnose issues by checking continuity, identifying faulty components, and verifying repairs.
- Soldering Iron and Solder: Important for replacing faulty components. A good quality soldering iron ensures strong, reliable joints.
- Desoldering Pump/Wick: Crucial for removing solder from components without damaging the circuit board.
- Oscilloscope: Useful for diagnosing complex issues by visualizing waveforms.
- Screwdrivers and Pliers: Necessary for disassembling and reassembling the power supply.
- Replacement Components: Stock up on common components like capacitors, resistors, diodes, and transistors.
- Isolation Transformer: Essential for safe working with live circuits, preventing electrical shock.
Step-by-Step Guide to Repair SMPS
- Check Fuses: Use a multimeter to check for continuity in the fuses. Replace any blown fuses.
- Inspect Capacitors: Look for bulging or leaking capacitors. Measure capacitance with a multimeter and replace faulty capacitors.
- Test Diodes and Transistors: Check for shorts or open circuits using a multimeter. Replace any defective components.
- Check Transformers: Verify continuity and resistance of transformer windings. Ensure there are no breaks or unexpected resistance values.
- Replace Faulty Components: Use the desoldering pump or wick to remove defective components. Solder new components in place with clean, solid connections.
- Inspect Solder Joints: Check all solder joints for cold joints or cracks. Reflow solder where necessary.
- Reassemble and Test: Carefully reassemble the SMPS and perform a basic functionality test. Connect the power supply to an isolation transformer and verify output voltages with a multimeter. Ensure the SMPS operates correctly under load conditions.
Testing and Verification
After repairing the SMPS, it’s crucial to ensure it functions correctly and safely:
- Initial Power-Up: Connect the SMPS to an isolation transformer and power it on. Observe for any signs of malfunction.
- Voltage Testing: Use a multimeter to check output voltages. Ensure they are within specified ranges.
- Load Testing: Connect the SMPS to a known load. Monitor voltage output under load conditions.
- Thermal Testing: Monitor the SMPS temperature under load using an infrared thermometer or thermal imaging camera.
- Waveform Analysis: Use an oscilloscope to check output waveforms for stability and minimal noise.
Preventive Maintenance Tips
To prolong the life of your SMPS and reduce future failures:
- Regular Cleaning: Dust and debris can cause overheating. Clean the SMPS regularly, especially ventilation grills and internal components.
- Component Check: Inspect critical components periodically for signs of wear or damage.
- Ventilation: Ensure adequate ventilation to prevent overheating.
- Load Management: Avoid overloading the SMPS beyond its rated capacity.
- Surge Protection: Use surge protectors to guard against voltage spikes and transients.
By following these preventive maintenance practices, you can significantly enhance the longevity and reliability of your SMPS, ensuring reliable power delivery for your electronic devices.

